Start with one companion and one visible change
Companion editing is popular because it is easy to understand and fun to test. That does not mean it should be done casually. Pick one companion, make one visible change and verify it in game before you start layering more edits on top.
That simple rule keeps a fun customization session from becoming a hard-to-untangle rollback.
Use the normal companion screens first
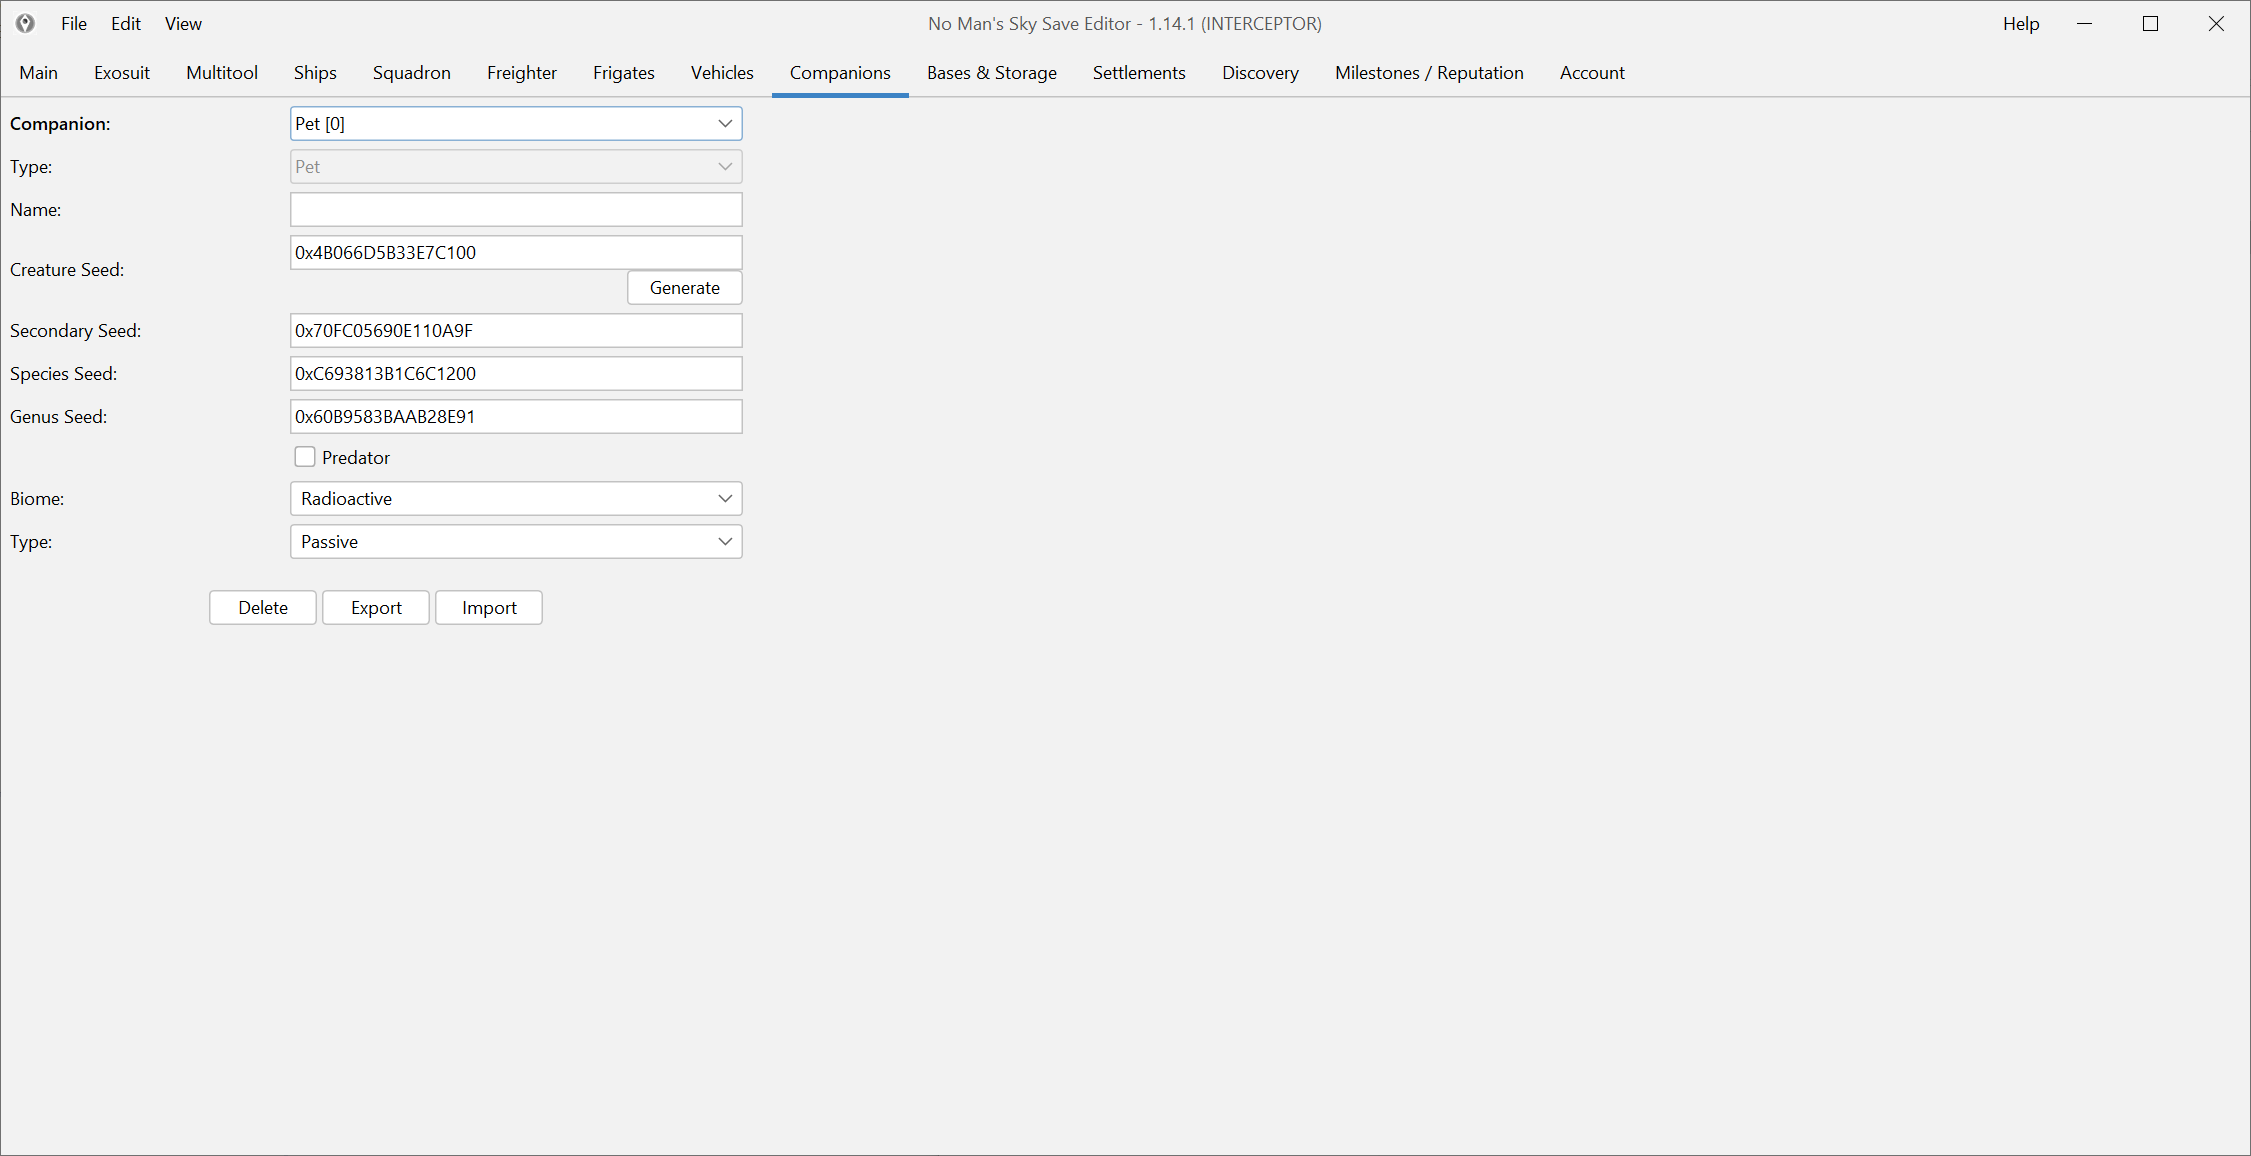
If the editor exposes the values you want through the companion UI, use that route before you reach for raw JSON. The normal screens are easier to reason about and easier to reverse if the result is not what you wanted.
This is especially true for:
- size-related changes,
- appearance-adjacent values,
- or basic companion adjustments you want to see immediately in game.
Validate the result in game right away
Do not assume the edit worked because the field changed inside the editor. Load the game and look at the actual companion:
- does the size look correct,
- does the appearance still behave normally,
- does the pet still exist in the right slot,
- does anything look obviously wrong or unstable.
If the answer is “something looks off,” revert before you add more edits.
Be careful right after a major update
If you are editing a companion on a very recent game patch, remember that update-specific mapping gaps can show up in narrow systems first. That is not the most common outcome, but it is common enough that it belongs in the guide.
When in doubt, check Compatibility and changelog before you keep experimenting.
Keep the workflow fun by keeping it clean
The cleanest companion-edit session is usually:
- back up,
- change one visible thing,
- verify it in game,
- repeat only if the first result is solid.
That keeps the process playful without making it sloppy.